Gemstone Soap DIY

Crystals and gemstones are ALL the rage right now haha... don't get me wrong - I have a rose quartz next to my sage on my makeup shelf lol. And being born in February... I have amethyst everything. Similarly, I've been a fan of making soaps for literally years. See posts HERE & HERE for more fun examples and tutorials. Anyways, being a lover of making soaps... I'm always thinking of fun new ways to make them and I got inspired by all the quartz and natural gemstones that are everywhere. I saw some pretty stones on display in a bathroom on some interior design blog and the stone literally looked like it COULD have been soap... and I got super excited... but turned out it was just a rose quartz hahaha but that got me thinking... how CUTE would it be to have a gemstone style soap next to your bathroom sink?! Long story long... that's how you all got his tutorial - your welcome.

What you'll need:Soap base (glycerin & goats milk were what I used) // soap mold for crystals for your base // soap colorant // essential oils // mica powder // pyrex bow and/or measuring cup

First up, you need to make your colored soap! You'll use the standard square molds for this.. or if you have small dixi cups - you could use those and just peel them off after they are done. Whatever is easiest. So you'll melt your soap in the microwave... I did it in 20 second intervals... you don't want to put it in there for 5min and burn it. But I would follow the instructions on your soap that you purchase.
Pour small amounts (1/2 inch or so deep) into each mold or dixi cup. I would only do 1 or 2 at a time since the soap will harden fairly quickly. Once poured - this is the fun part! Pour your colorants to get the hues you want. This is where you can get as creative as you want! You can mix colors, add mica to get some shimmer - whatever you want! Once you have your colors (I did 6 different colors) let them sit and dry. I left mine overnight, but depending on your soap, it could be a few hours.

Now that your colors are done, chop them up! I feel like the best way to do this, is to just do it. Don't overthink it. Don't "try" if that makes sense. The more "not perfect" these pieces are - the better. You can see what my pieces look like in the little piles above, if that helps.
So first - toss in your "crystal bits" as I like to call them, into the soap mold - again - the less you think about it the better. I did combos of all colors and then I did some color pairings... but just play around with it!
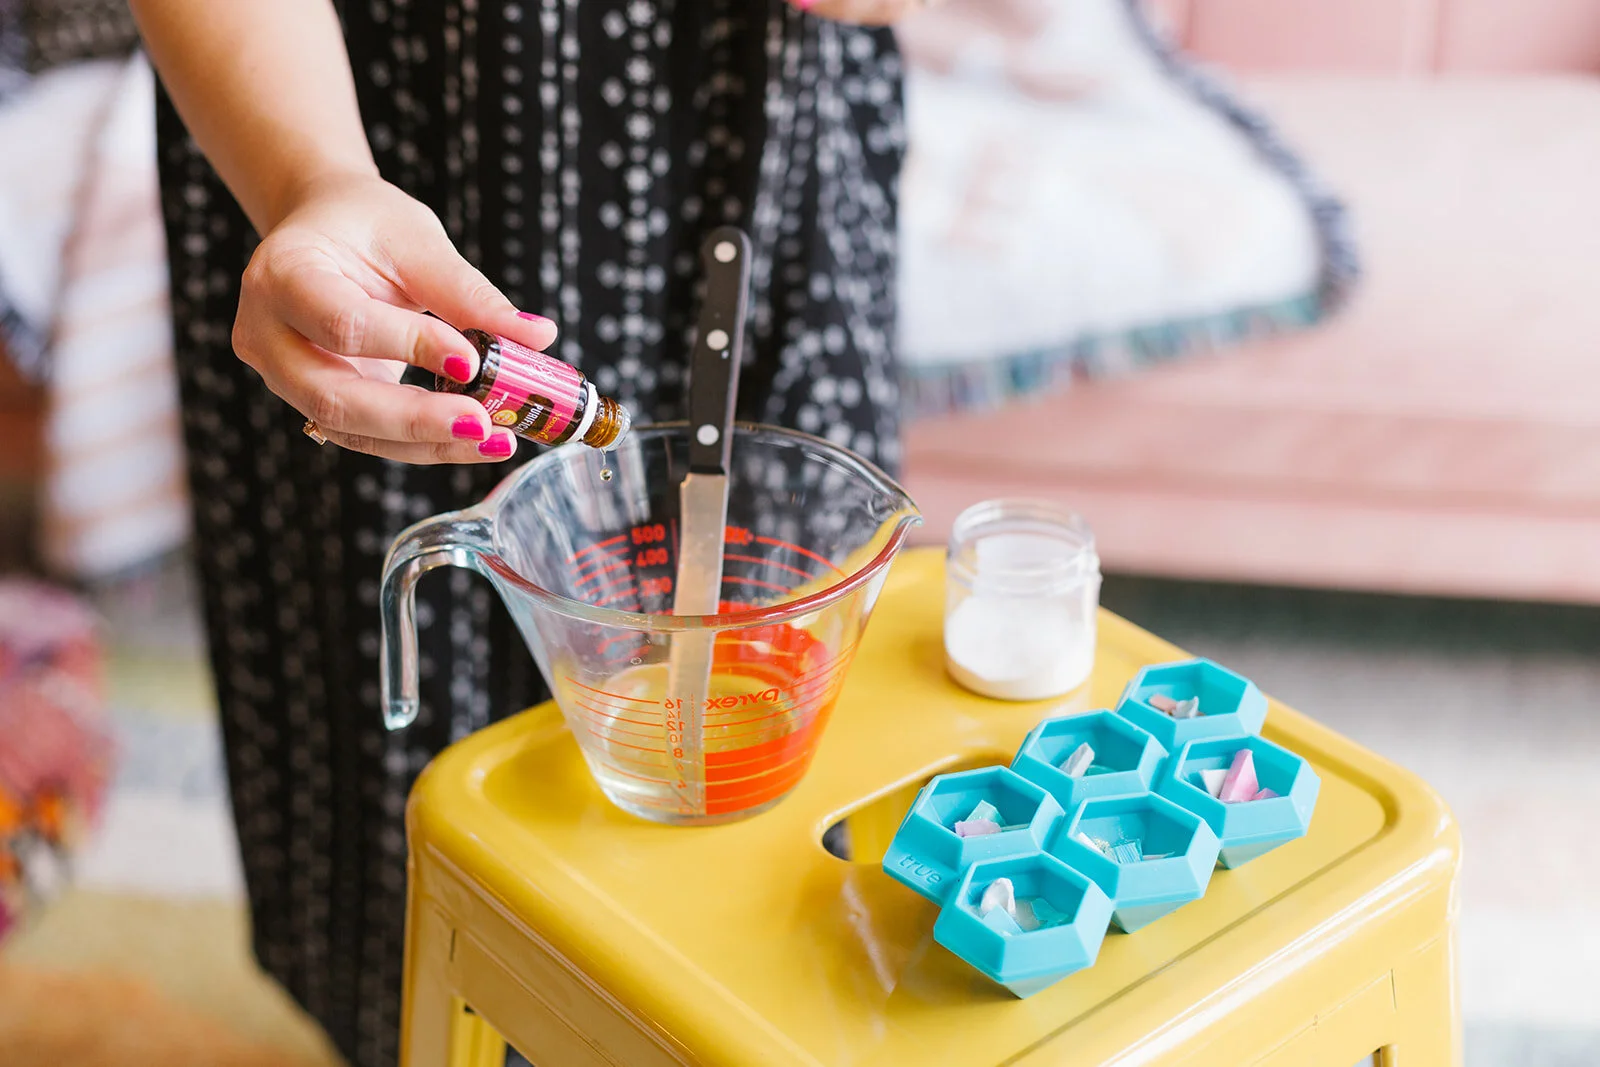
Once you have all your little crystal bits all in, now it's time for your main crystal soaps. I liked to experiment with this a bit and do some with the clear glycerin and some with the white milky goats milk and some with a little blent of both. Play around with them! I only did 2 at a time so I could do different. ones. So that means only heating up smaller amounts of soap at a time.
Don't forget to add in your essential oils at this point! When the soap is heated all the way through - add 10-12 drops of your favorite essential oil and gentry stir in. Then pour into your soap molds. Some of the bits may float. I push some down and let others float - totally up to you. Just be sure to do it asap if you want to push them down.

For some of the crystals, I pre-mixed in some gold mica into the main soap mold, and for some I sprinkled on before I added the main soap and/or on top at the very end. Again - another area you can play around with and find the look you like best!

Once your molds are all full - let them sit for a few hours or overnight and then pop them out! I am absolutely obsessed with how mine turned out and I'm already dreaming up the next batch I want to make.
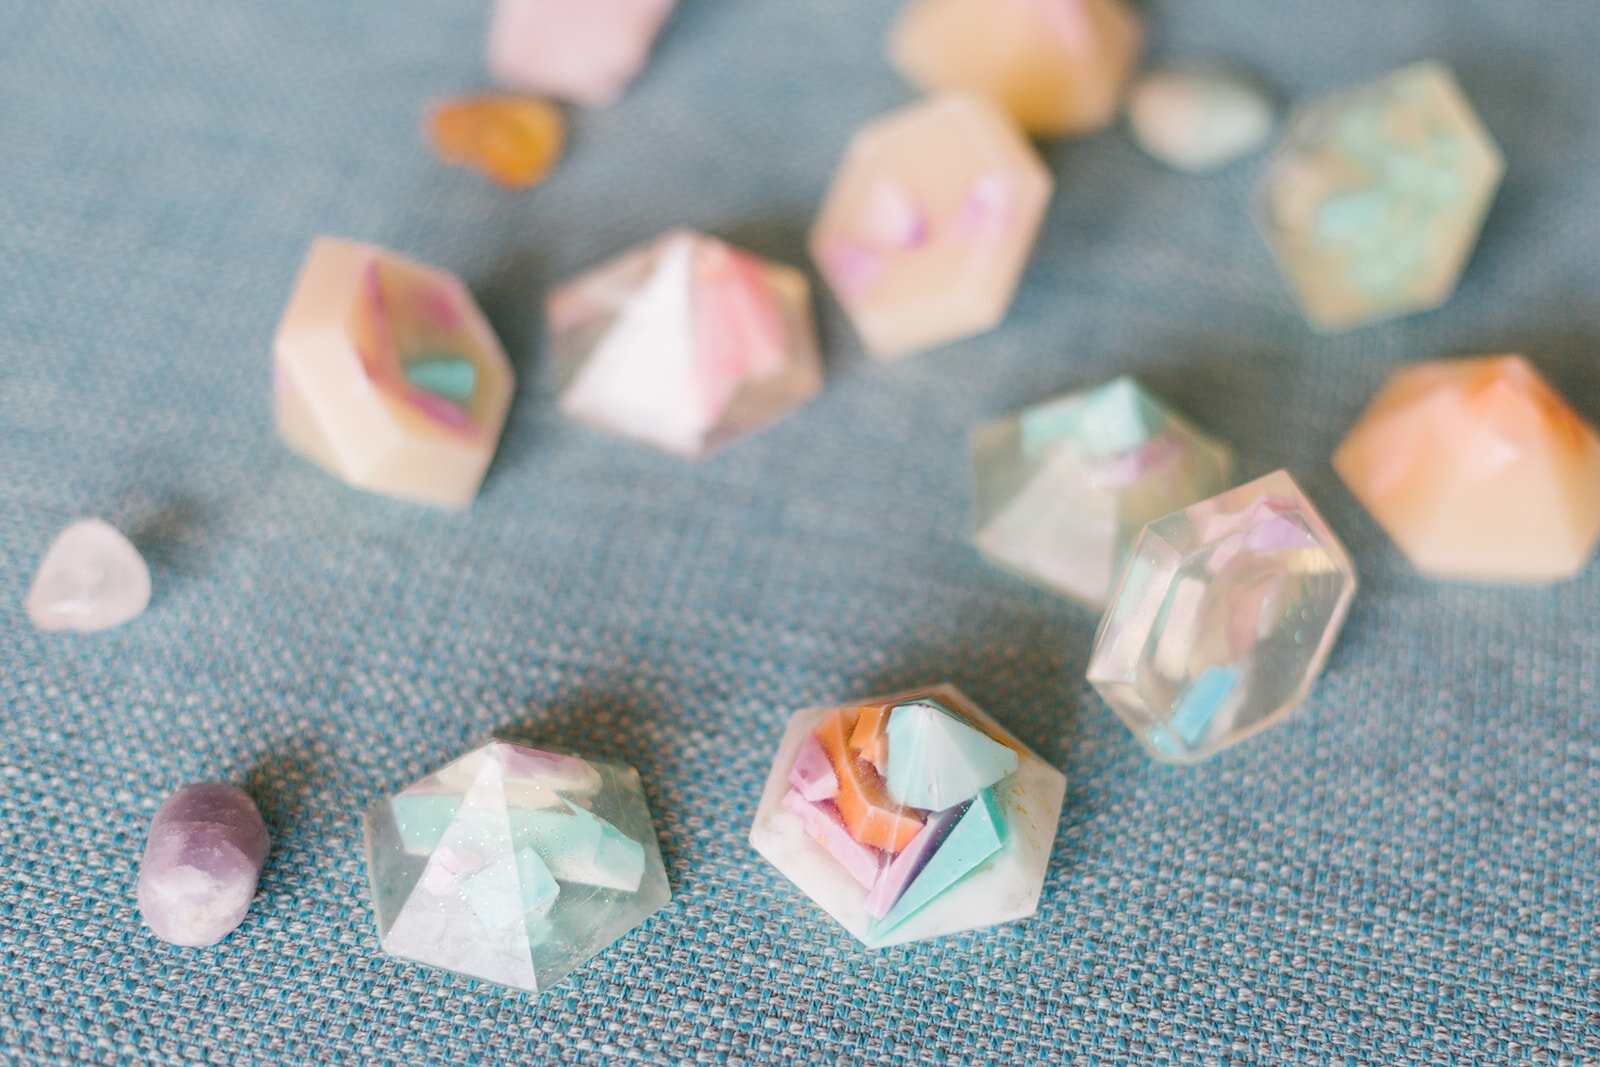
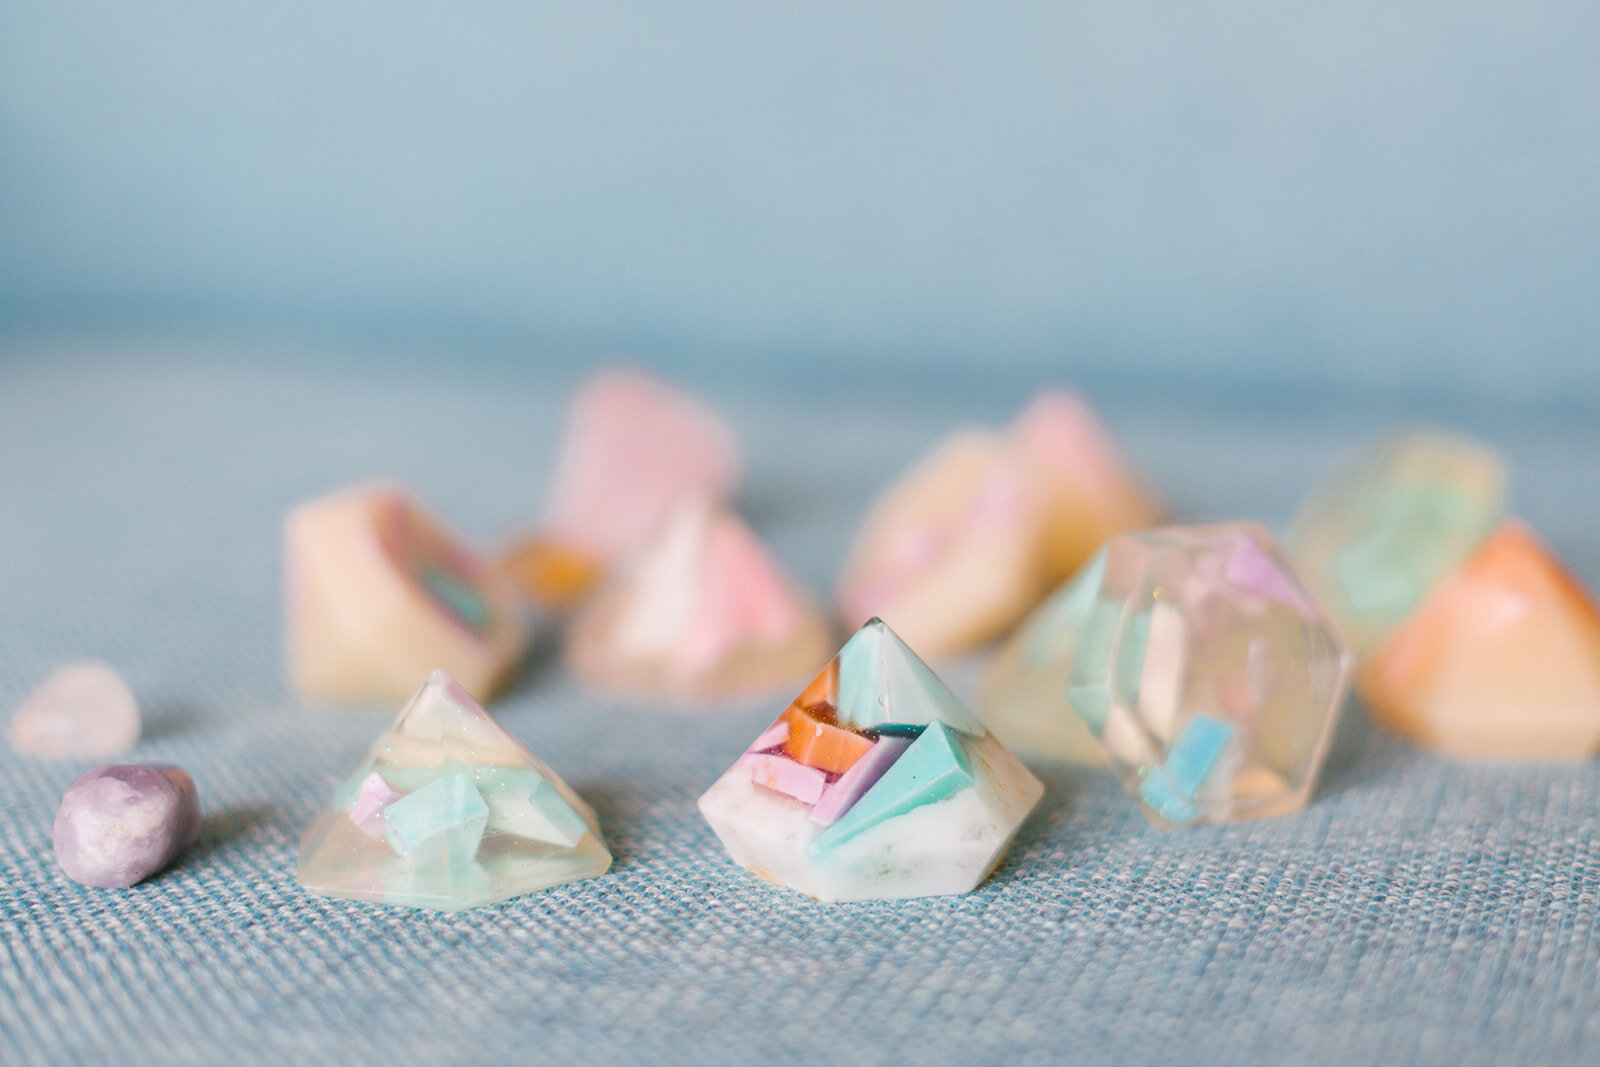
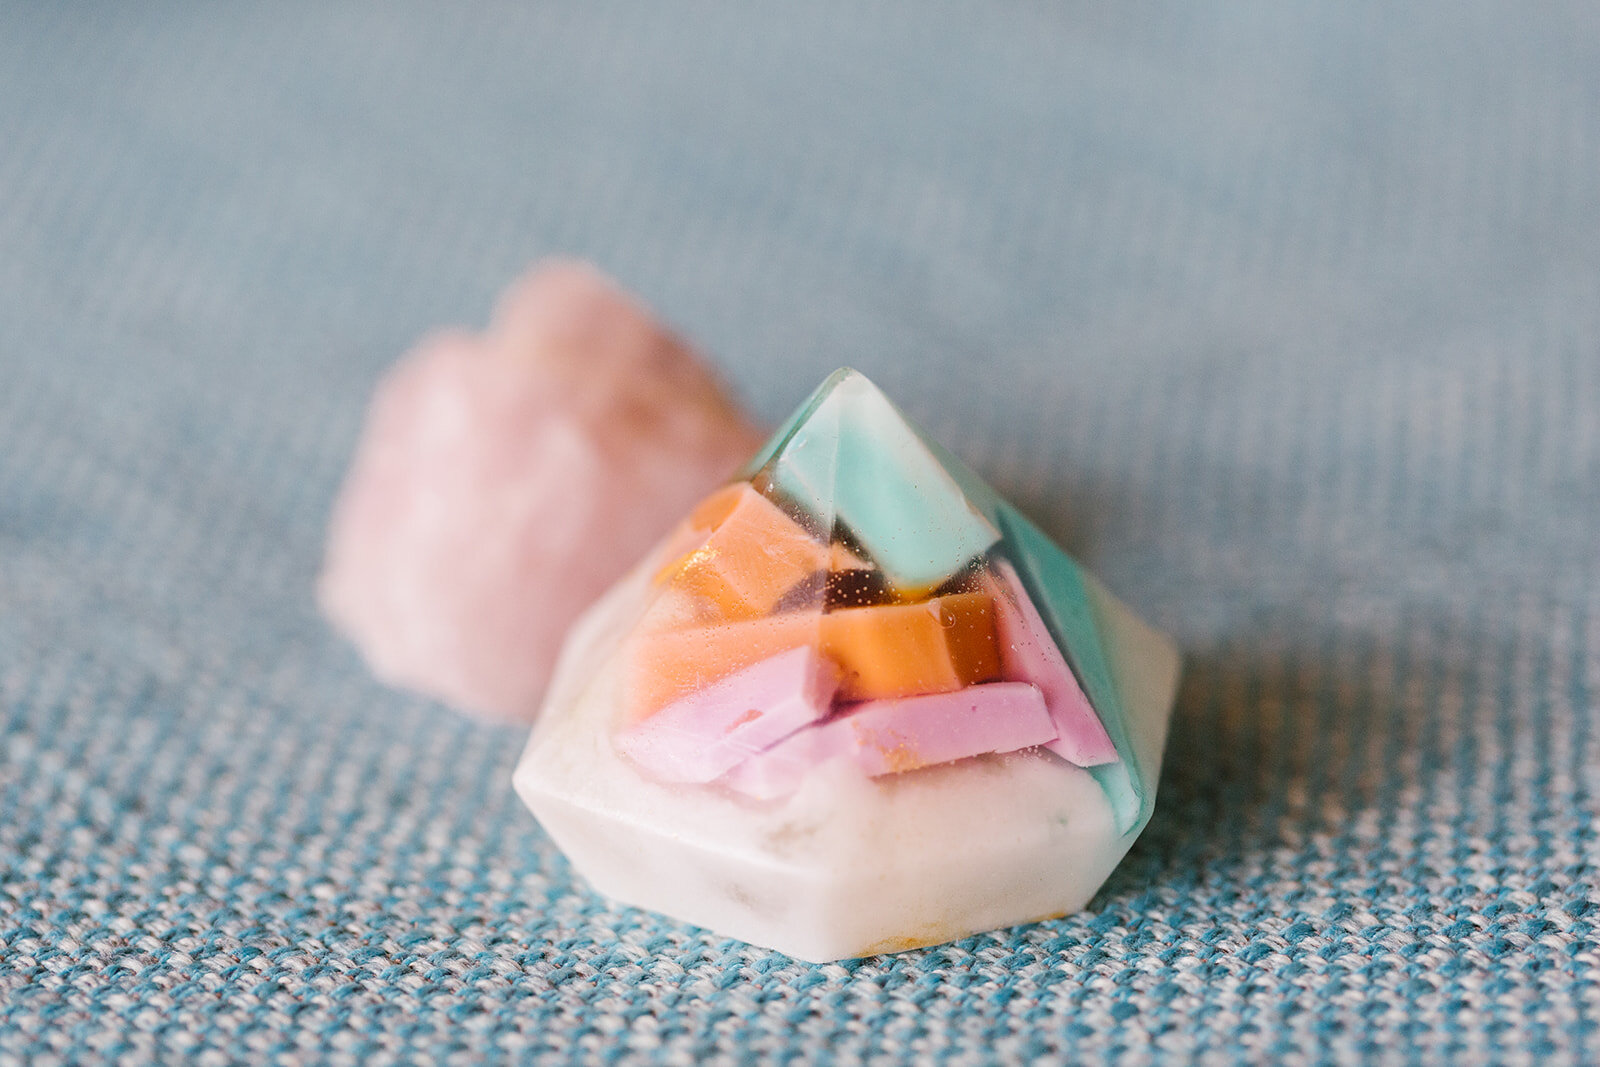
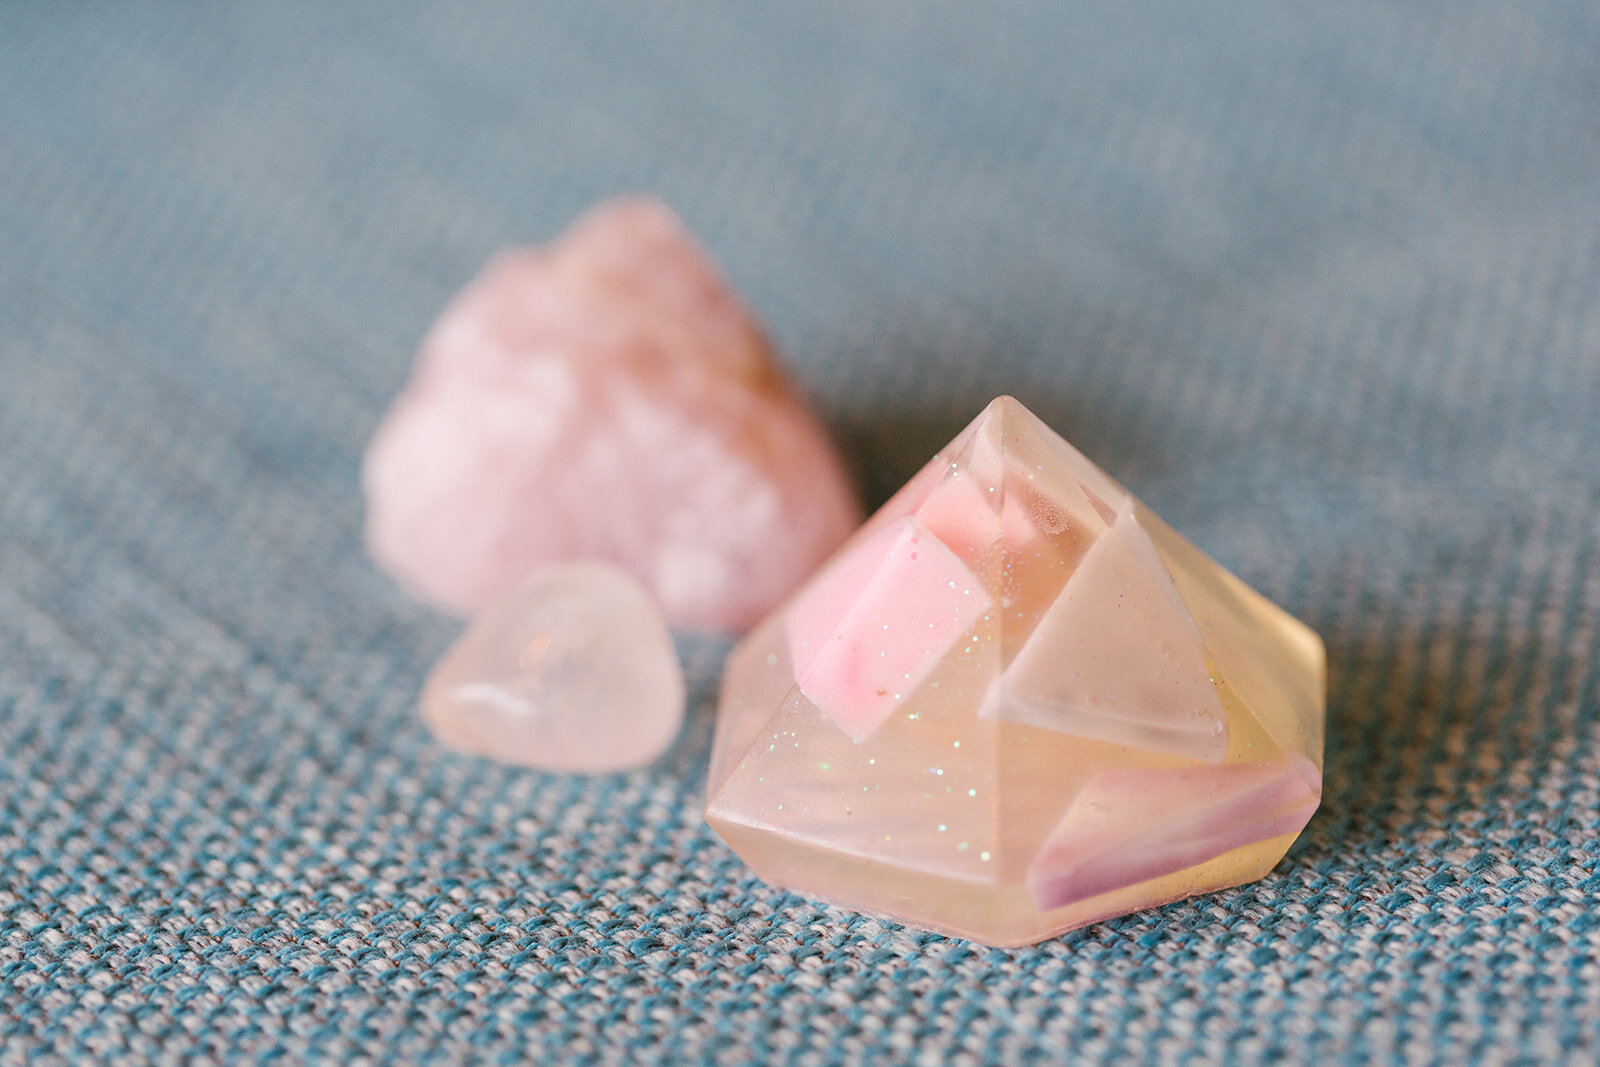
I tried to make a few look specifically like the rose quarts, what do ya think?? See that mica sparkling in there? Might be my fav!

I'd love to see what sort of gem soaps you guys make!! Be sure to post and tag @TastefulTatters so we can cheer you on!
Photos by: Rachel Stelter Photography - check her out - she's amazing!!