DIY Tropical Leaf Earrings

The other day, I posted on my Instagram Stories that I had just made some cute earrings and asked if anyone would like the tutorial... and boy did you all respond!! Ask and you shall receive my friends! A step by step tutorial for making these bad boys for yourself!

First, what you'll need is:
wire - I used 16 gauge brushed gold from Michaels
needle nose pliers
flat nose pliers
jewelers mallet
block of wood
small nails
hammer
clipart of a leaf
earring hooks
printed template - I used one like this
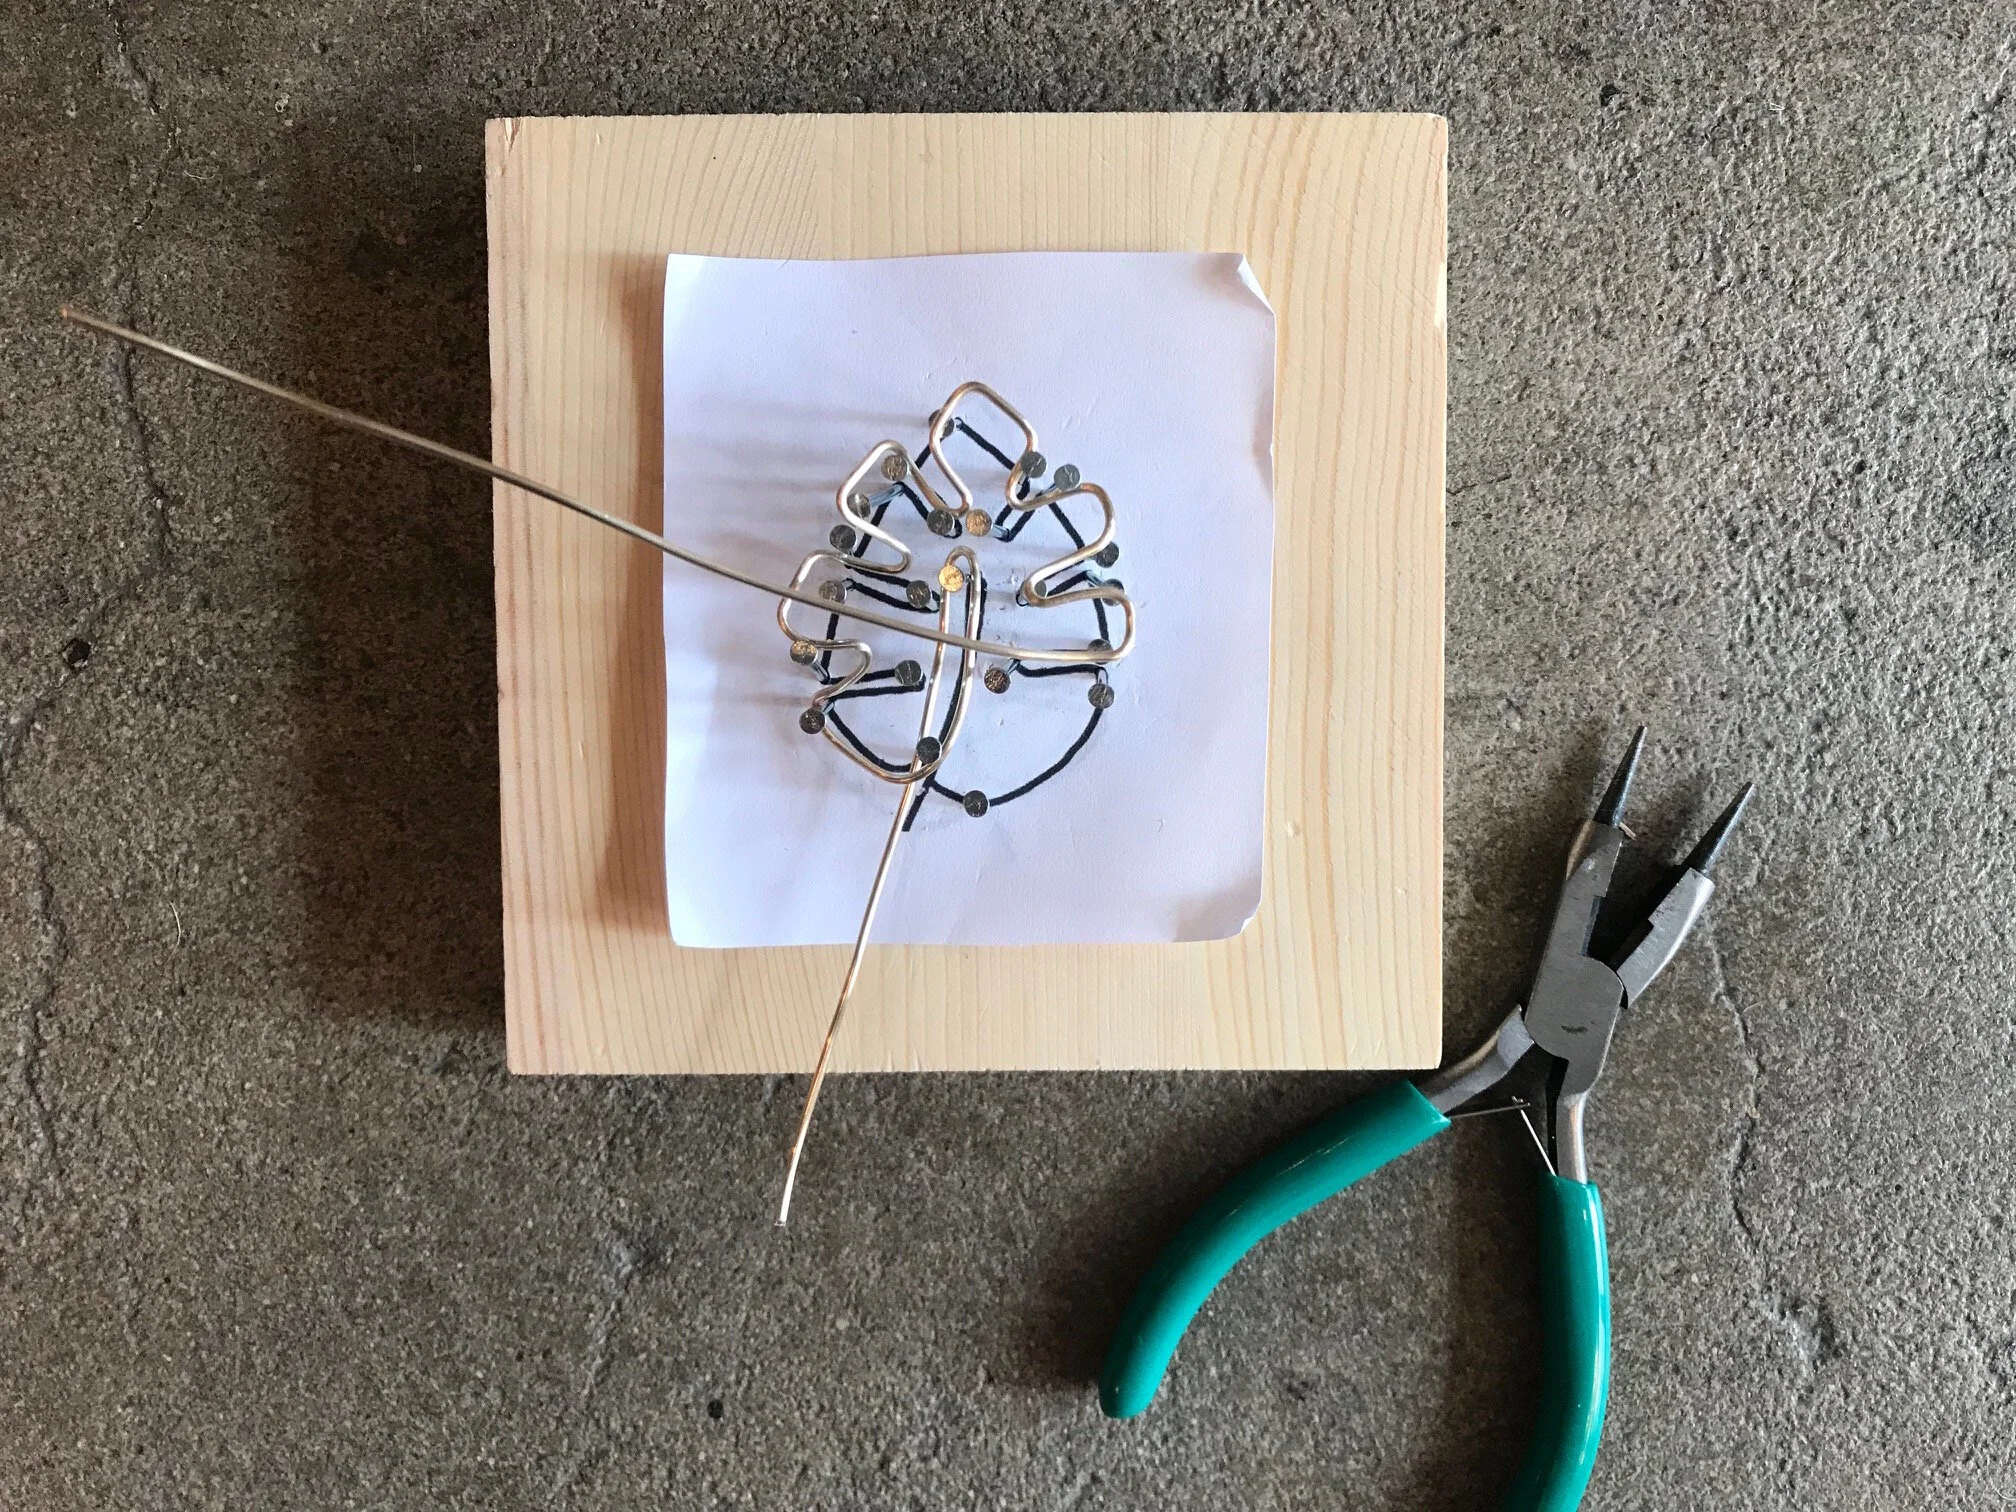
This first step honestly takes the longest. Print out your leaf template and then place it on a block of wood. Use your hammer and small nails to outline your leaf. It's important to hammer at every point of the leaf. I learned the hard way - to start in the middle and work your way out!

Now that you have all your leaf points, now we can start with your wire. I liked to leave a bit extra at the end (to wrap around and secure later) but basically you start in the center and use your needle nose pliers to guide your wire around each nail, basically having your wire follow as closely to the line of the leaf as possible. This will get you the best outcome.

For some reason, I just started going from left to right (clockwise) - I tried switching it up and going right to left and it was 10x harder. So if you are finding this to be really hard - try switching directions!
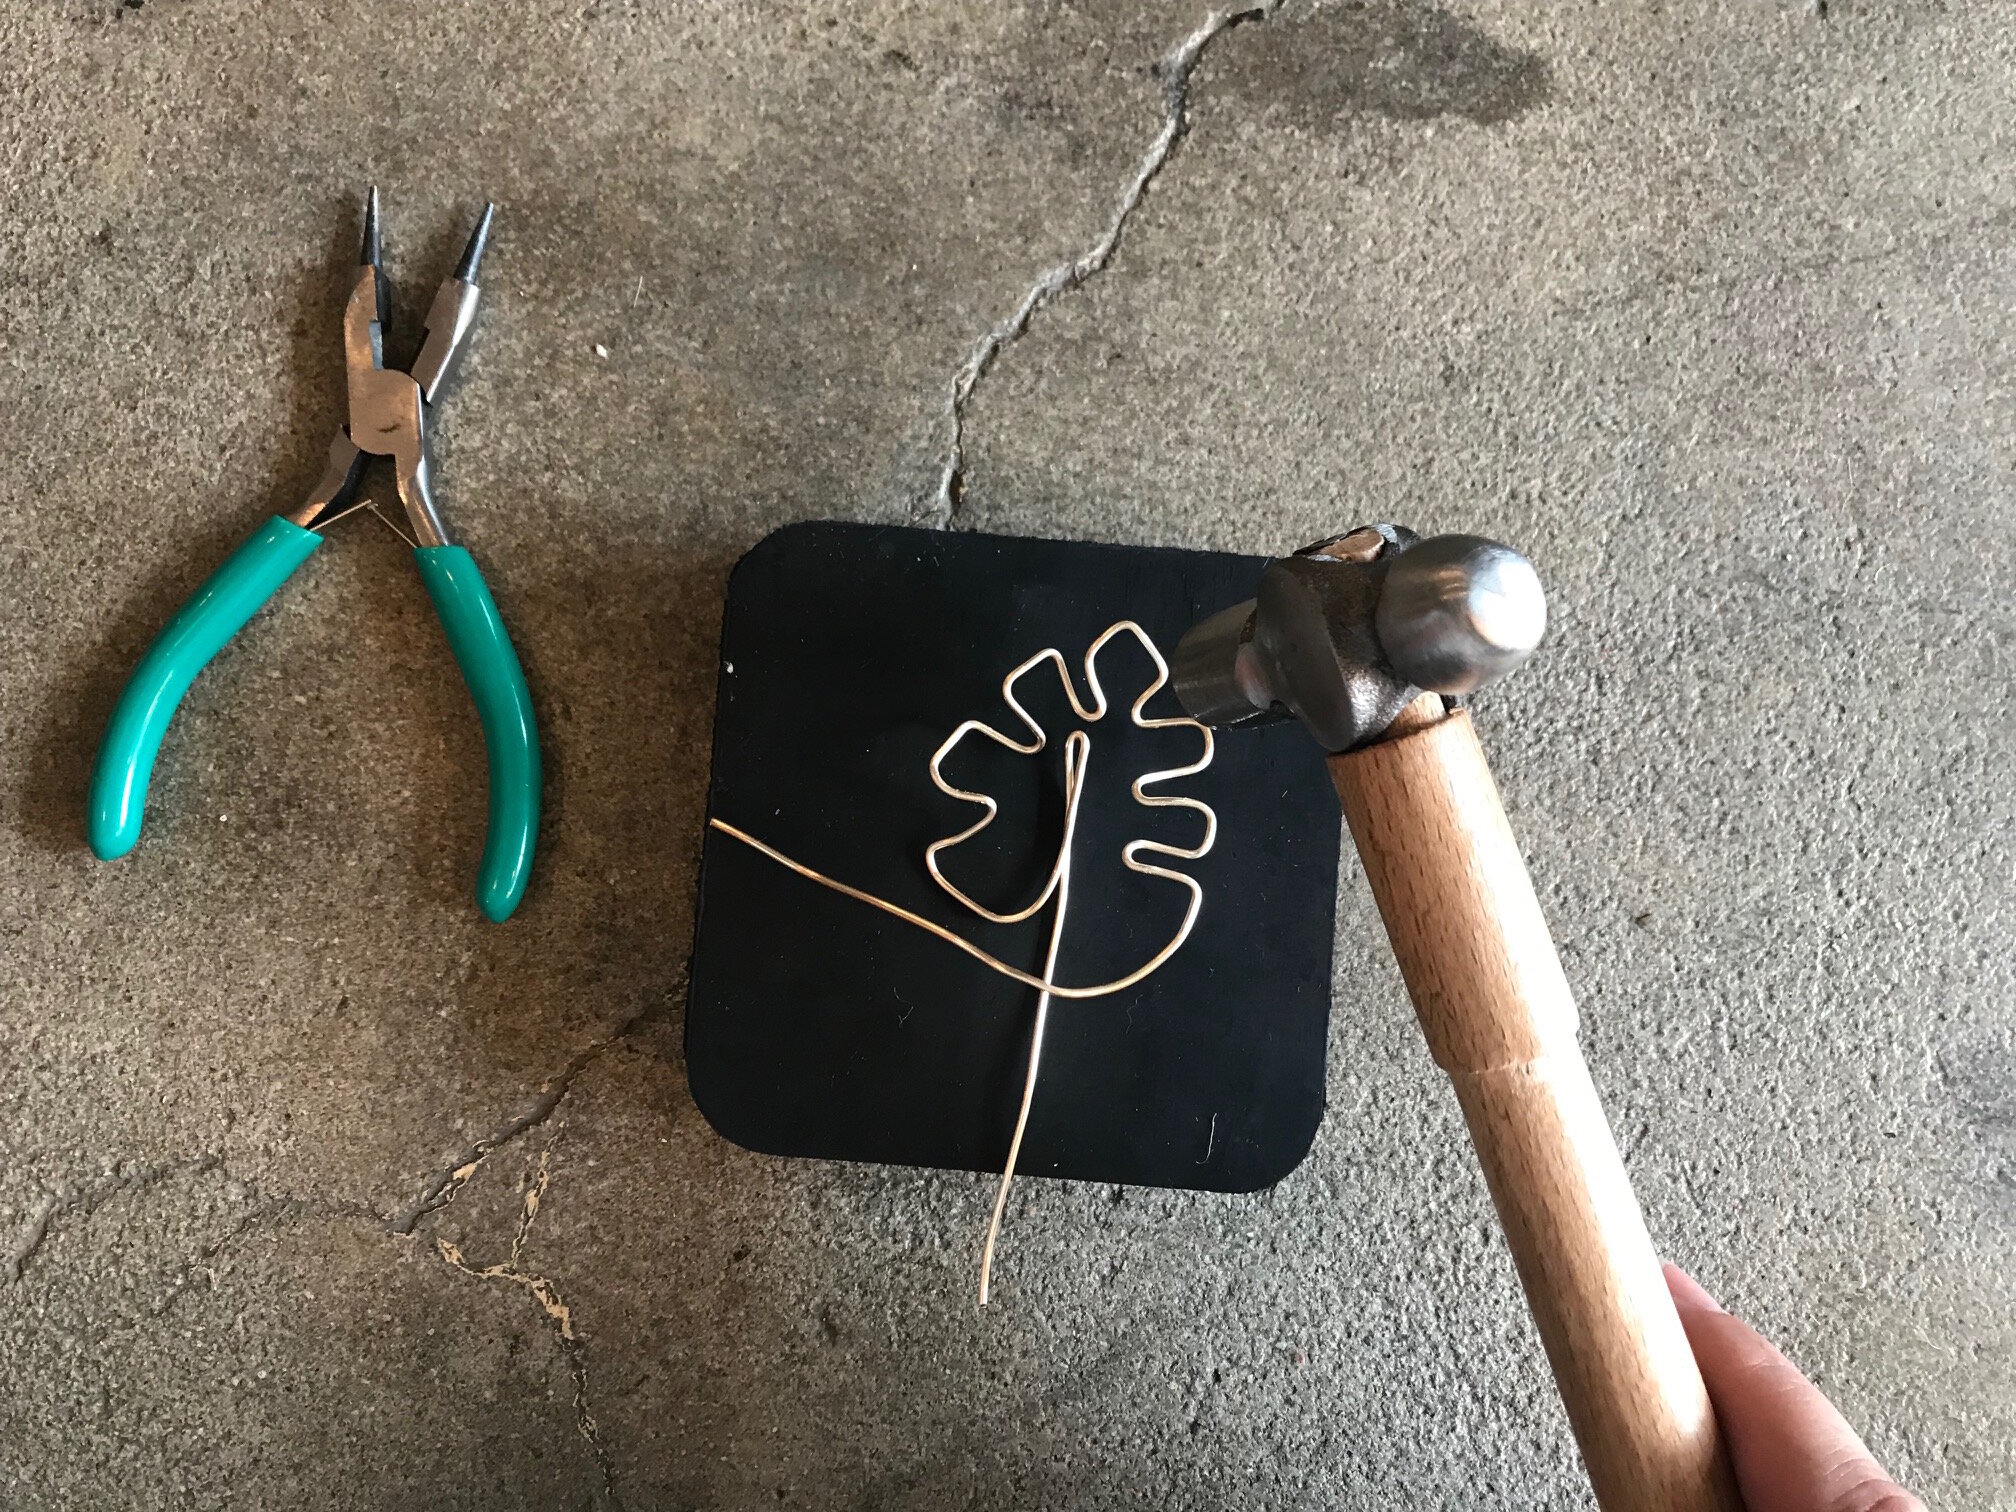
Once you are done, very carefully take your wire off of the nails. You may want to use your pliers to retweak a few areas if they lost their shape in this process. Then, take your leaf to a flat surface. I used a rubber block for jewelry making so no dent marks show up on my wire. But it's not 100% necessary.

Now that you're satisfied with your shape, take your extra piece we left out at the beginning and use your needle nose pliers to make a loop. Now you can string on your earring hoop! Now, use your extra wire from the end (should be point out to the side) and use your pliers to twist around your loop and tighten it all up with your flat pliers!

VOILA! How cute are these?! So stinking easy and affordable! The best part is - you can honestly do this same method with literally any shape! If you make your own, I'd love to see what you come up with! Tag me on @TastefulTatters on instagram so I can share all your creativity!

Happy crafting friends!