About
Work With Us
Look Book
Kind Words
Blog
Contact
About
Work With Us
Look Book
Destination and Elopement Planning for the Modern Bride
Kind Words
Blog
Contact
Scroll
Featured
Feb 19, 2025
An Intimate San Diego Backyard Wedding
Feb 19, 2025
Feb 19, 2025
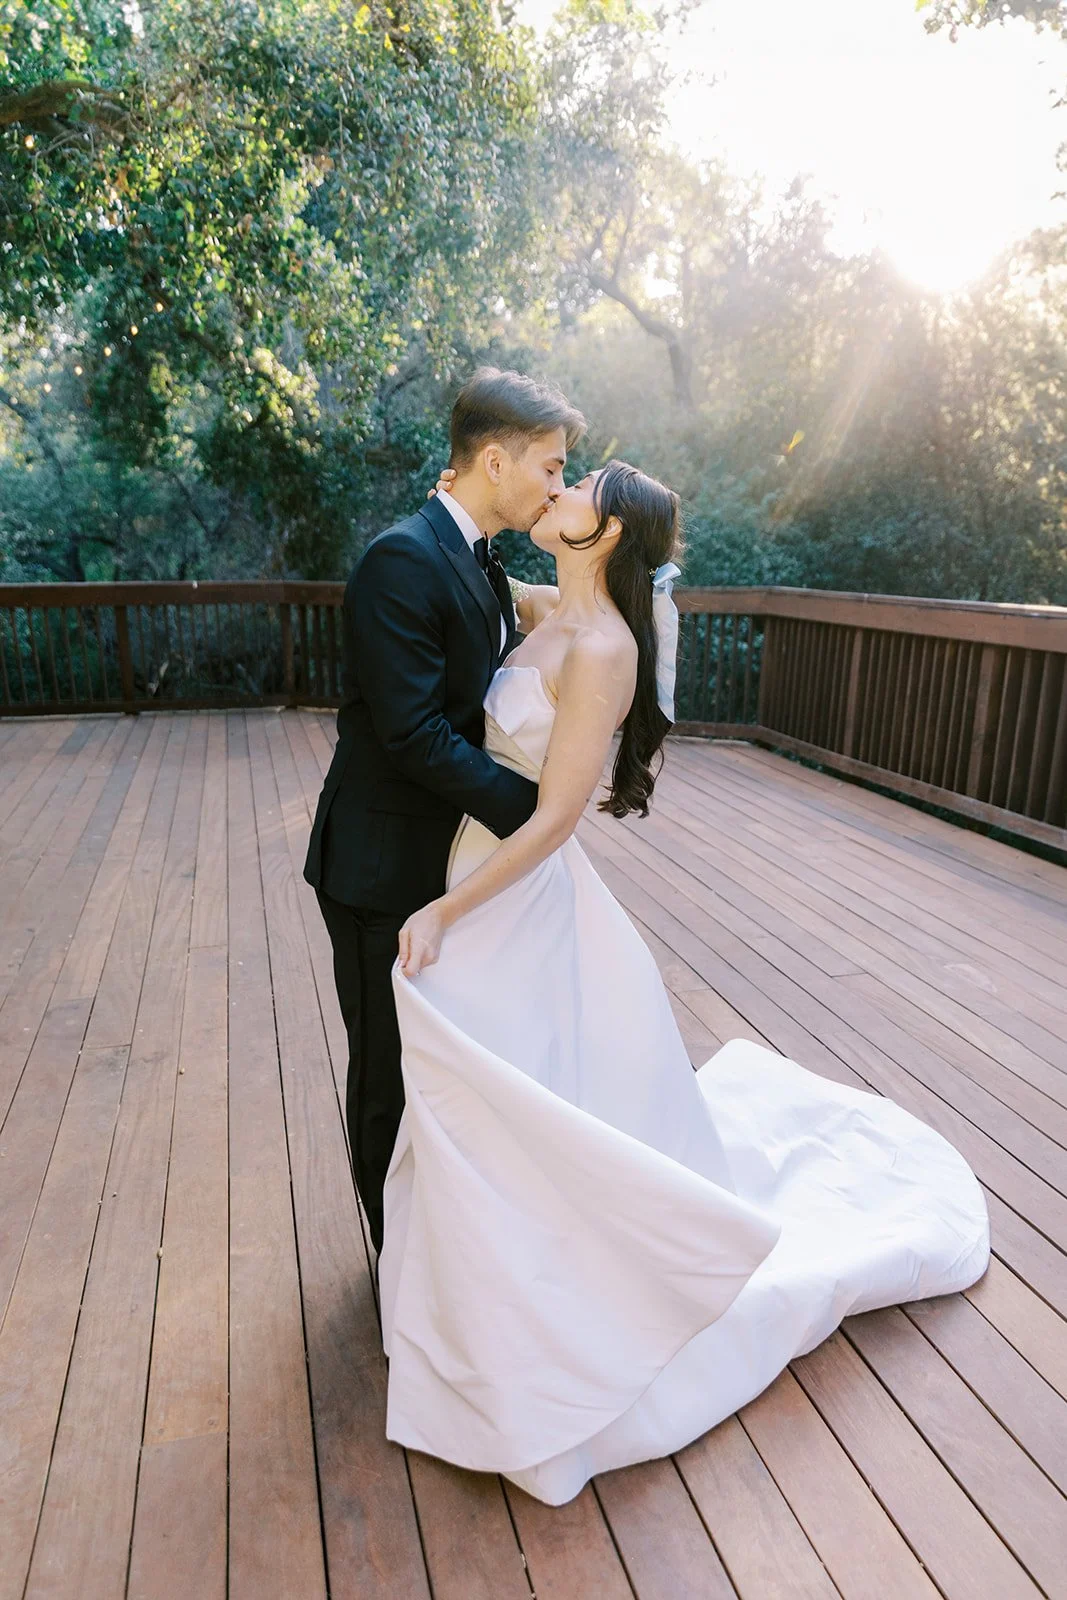
Jul 5, 2024
Olivia & Zach's Romantically Intimate Wedding Day at 1909
Jul 5, 2024
Jul 5, 2024
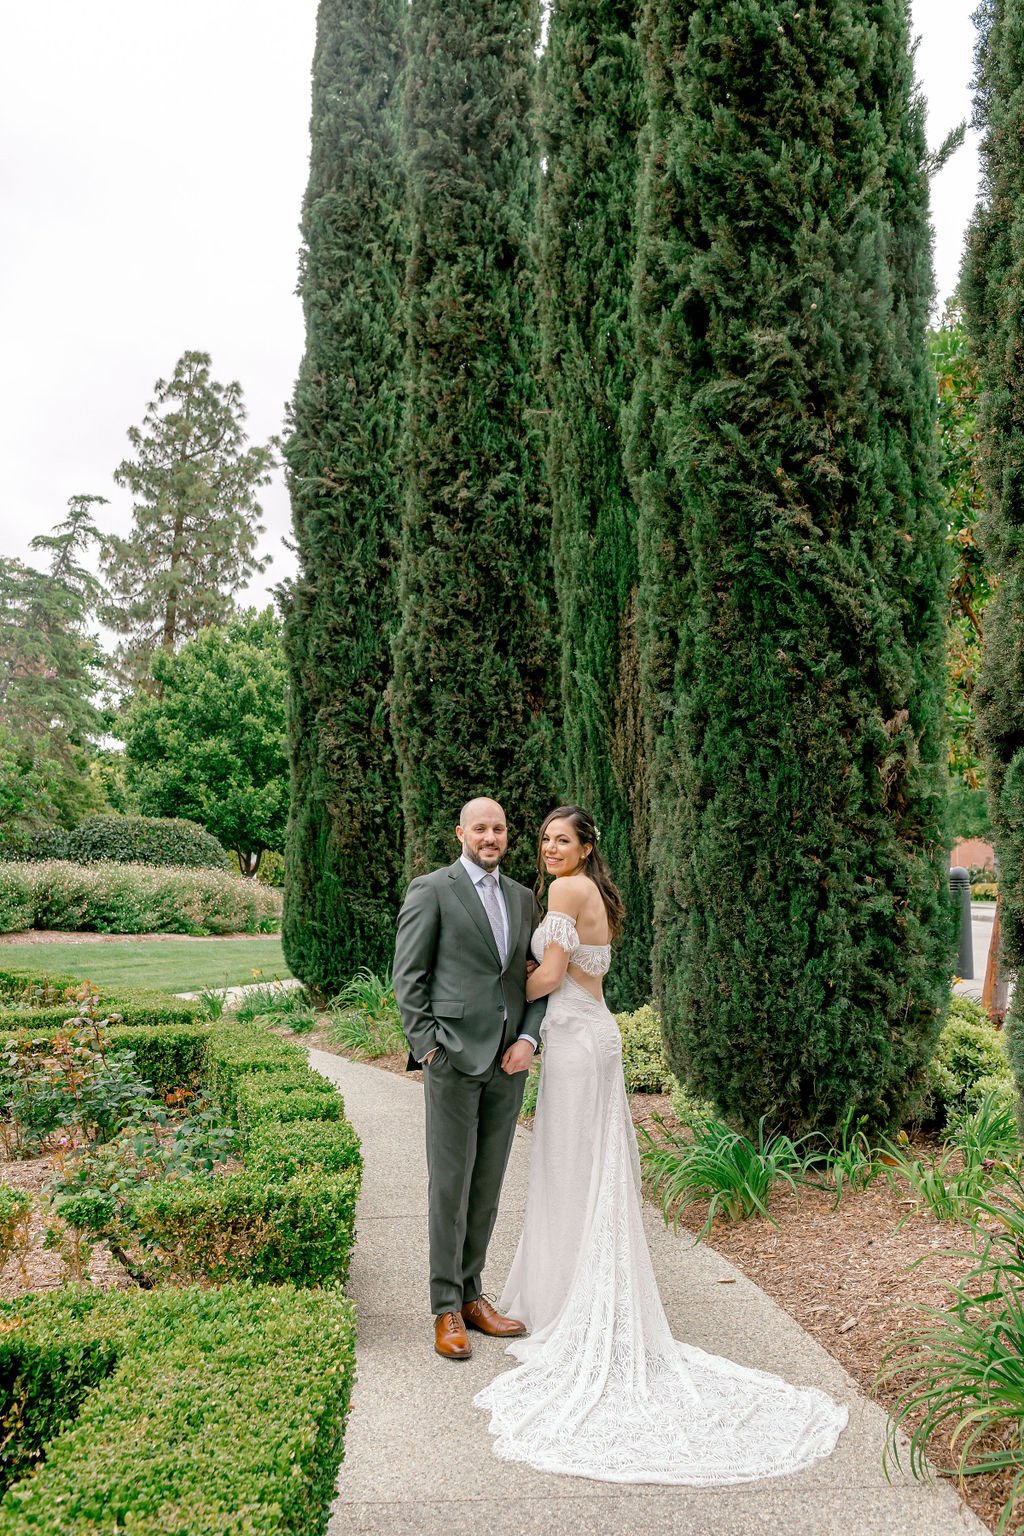
May 1, 2024
A Romantic Wedding Nestled in a Vineyard
May 1, 2024
May 1, 2024
Apr 2, 2024
Real Weddings
Rachel & Patrick's Stunning Calamigos Wedding
Apr 2, 2024
Real Weddings
Apr 2, 2024
Real Weddings
Mar 15, 2024
Real Weddings
Neon, Sushi, Light Up Dance Shoes...This Wedding Has It ALL
Mar 15, 2024
Real Weddings
Mar 15, 2024
Real Weddings
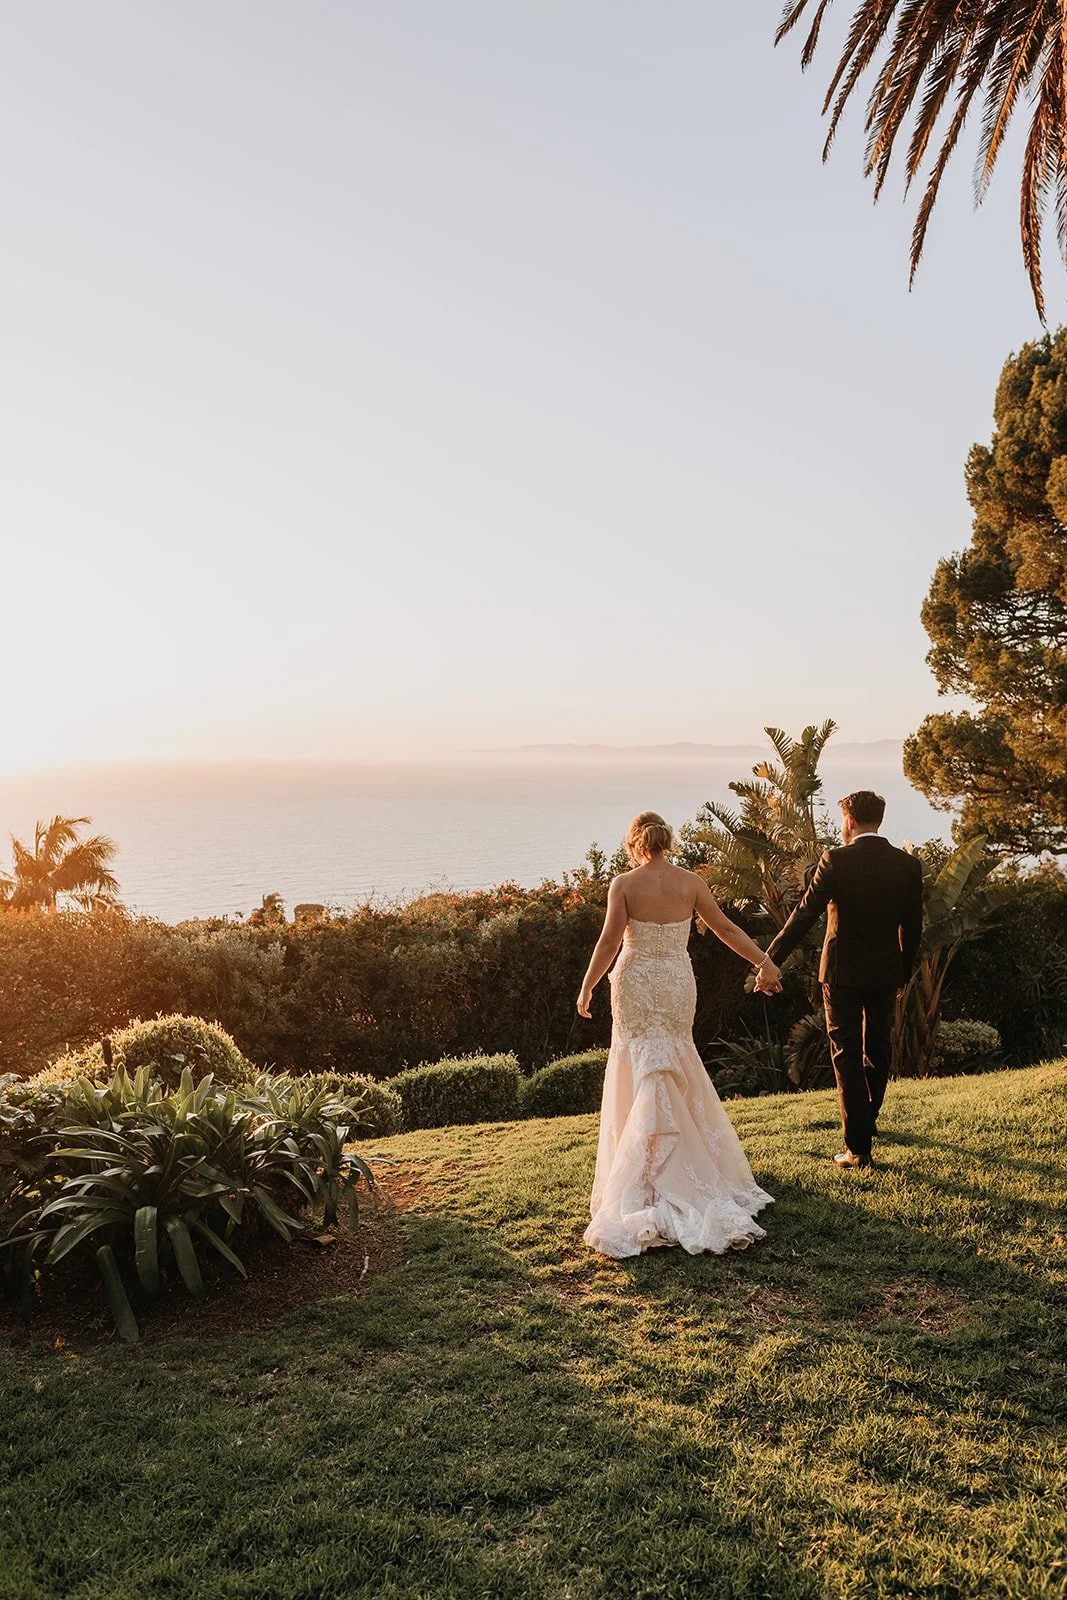
Mar 7, 2024
A Dreamy Seaside Wedding at La Venta Inn
Mar 7, 2024
Mar 7, 2024
Feb 1, 2024
Real Weddings
The Coolest Kids in LA
Feb 1, 2024
Real Weddings
Feb 1, 2024
Real Weddings
Oct 16, 2023
Real Weddings
Lauren & Nick's Magical Post Covid Wedding in the Woods
Oct 16, 2023
Real Weddings
Oct 16, 2023
Real Weddings
Aug 16, 2023
Winter Wedding Guest Fashion: Affordable Dresses for Elegance and Versatility
Aug 16, 2023
Aug 16, 2023
Aug 10, 2023
Real Weddings
A Dreamy Smogshoppe Day of Matrimony
Aug 10, 2023
Real Weddings
Aug 10, 2023
Real Weddings
May 25, 2023
Real Weddings
Carrie & Lance's Rock n Roll Wedding
May 25, 2023
Real Weddings
May 25, 2023
Real Weddings
Mar 29, 2023
Real Weddings
Marlene & Adam's Two Day Wedding Celebration
Mar 29, 2023
Real Weddings
Mar 29, 2023
Real Weddings
Feb 28, 2023
Megan & Riley's Desert Dream Wedding
Feb 28, 2023
Feb 28, 2023
Dec 15, 2022
Katarina & Sean's Sweet Backyard Wedding
Dec 15, 2022
Dec 15, 2022
Dec 5, 2022
Real Weddings
Grace & Adam's Smogshoppe Wedding
Dec 5, 2022
Real Weddings
Dec 5, 2022
Real Weddings
Oct 27, 2022
Real Weddings
Sally & Brian's Celebration of Love
Oct 27, 2022
Real Weddings
Oct 27, 2022
Real Weddings
Oct 5, 2022
Cocktails
No Tricks All Treats
Oct 5, 2022
Cocktails
Oct 5, 2022
Cocktails
Aug 11, 2022
Real Weddings
Krystal & Nikko's Glam Vibiana Wedding
Aug 11, 2022
Real Weddings
Aug 11, 2022
Real Weddings
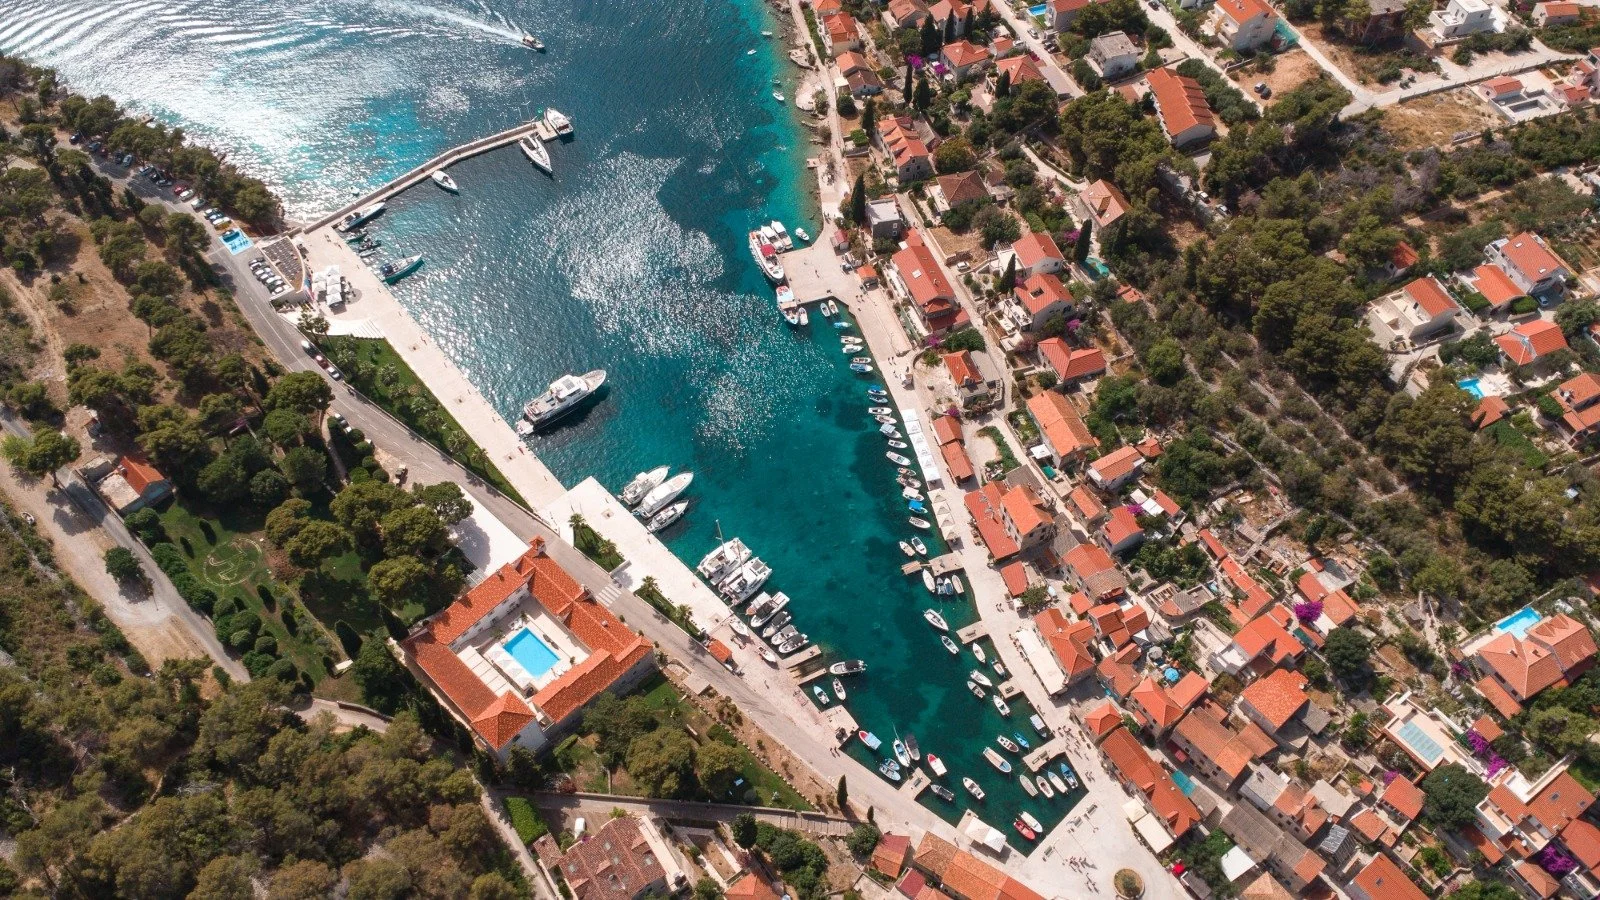
Jul 12, 2022
Resource
Tips for Planning a Destination Wedding In Croatia
Jul 12, 2022
Resource
Jul 12, 2022
Resource
Mar 14, 2022
Real Weddings
Claire & Brian's Rooftop Micro Wedding
Mar 14, 2022
Real Weddings
Mar 14, 2022
Real Weddings
Dec 30, 2021
Christy & Joel's Magical Wedding at Houdini Estate
Dec 30, 2021
Dec 30, 2021
Dec 1, 2021
A Bridal Shower For My Bestie
Dec 1, 2021
Dec 1, 2021
Nov 21, 2021
Lauretta Records Launch
Nov 21, 2021
Nov 21, 2021
Aug 28, 2021
Real Weddings
Annika & Cam's Tropical Beachfront Wedding
Aug 28, 2021
Real Weddings
Aug 28, 2021
Real Weddings
Jul 19, 2021
Real Weddings
A Beachside Elopement
Jul 19, 2021
Real Weddings
Jul 19, 2021
Real Weddings
Jul 5, 2021
Monserratt & Andres' Colorful Hacienda Destination Weddi
Jul 5, 2021
Jul 5, 2021
Apr 5, 2021
Shibori Dying Tutorial
Apr 5, 2021
Apr 5, 2021
Blog Posts